The problems faced in theaters are the brightly lit faces against dark backgrounds and the desire to use telephoto focal lengths. To get a nicely exposed image you will need to change to a few settings on the camera. I generally shoot theater photos using...
- Shutter Priority at 1/125 second
- Highest ISO possible (1600 using the 5Ti)
- Spot Metering Mode
- Center Point Focus
- Single Shot Shooting Mode
And… a single shot mentality while shooting the photos.
- Point the camera at the subject
- Frame with your zoom a little beyond what you want in a final image
- Put the center spot on the subject's face (brightest spot possible)
- Release the shutter fully after each shot
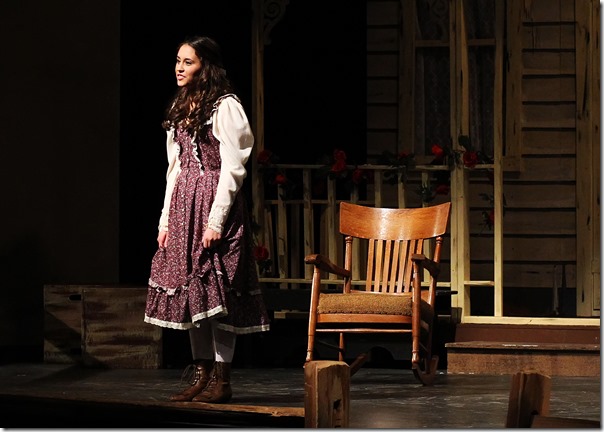
This shot of Jane shows the technique nicely. Her dress is the brightest thing in the viewfinder and conveniently right in the center of the image we want.
Many times we will have this instead... My finished image is a cropped section of the original capture where I had the center spot on the bright part of the shirt.
Leaving the camera in "full automatic" usually gets you images where the black backdrop is exposed "correctly" and the faces are completely blown out. like this...
Configuring your camera to display any blown-out highlights and paying attention to the histogram on the built-in LCD display allows you a way to quickly and easily ensure the images you capture will be exposed properly. Blown-out highlights will “blink” on the LCD display when the highlight alert function is turned on. usually looking something like the animated images below.
Any part of the image that is blinking will be completely blown-out (you never want to see the actors faces blinking). You will also want to have some “information” (spikes) in the fifth “bin” of the histogram. It is important to note that the “blinking” highlight alerts are a much better indicator of over exposure. A scene with very few highlights can be very hard to analyze using only the histogram on the LCD. Pretty much any blown out pixels will blink obviously.
So… If nothing you want in the image is blinking and there is some stuff in the last bin you are good to go!
In the real world it is sometimes not as quite as “cut and dry” as the example above. The image I used earlier provides a good example of what I saw on the back of my camera when shooting this High School Play. Here the highlights (bright stuff) shows up more like a line across the bottom of the histogram that does not quite reach into the fifth “bin”. But I knew I was in good shape because there was nothing blinking in the image and the highlights were at least most of the way across the fourth.
Another perfectly reasonable approach is to set the camera in full manual mode. The example image here was captured with the shutter set to 1/500 sec; The aperture at f/4.0; and the film speed at 3200 ISO. After determining the exposure settings using the methods described earlier you could switch to full manual and shoot without changing anything between shots. Full Manual works really well in a setting where the lighting remains constant. In the example here you will get a nicely exposed image as long as her face remains in the lights.
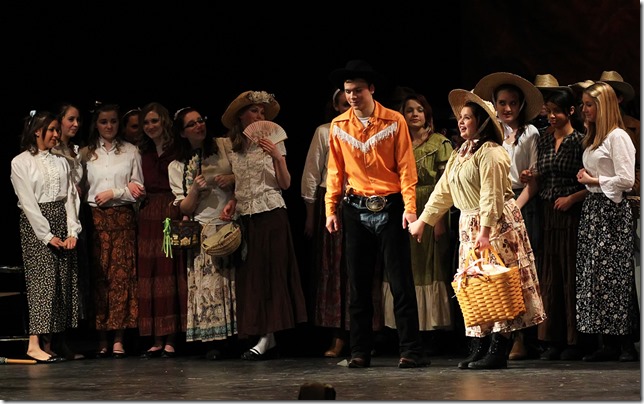
Unfortunately we are usually faced with something more like the scene below where some of the faces are in the lights and some in the shadows. Here you would use slightly different settings to correctly expose the faces of the kids holding hands than the settings for the girls on either side. Setting the camera to one of it’s automatic exposure modes (P, TV, AV,) as described earlier allows one or more of the exposure values to change automatically as the center spot sees more or less light. This uneven lighting is what makes images shot at school plays so beautiful. Getting the exposure right is actually pretty easy even with a moderately priced camera, and the results are fun!


