Thursday, March 22, 2012

Shape Collage

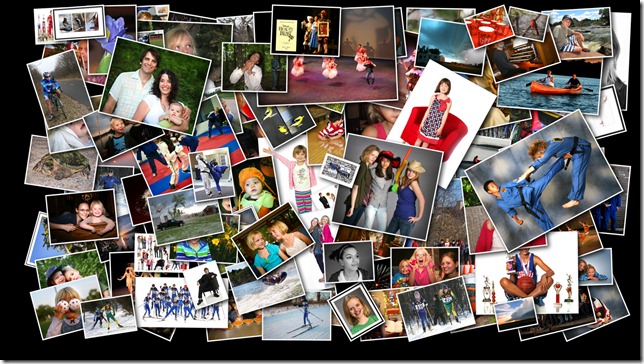
The Header Image at the top of this blog was created using a program called Shape Collage. It is the best $40 I have ever spent on software!

They also have…

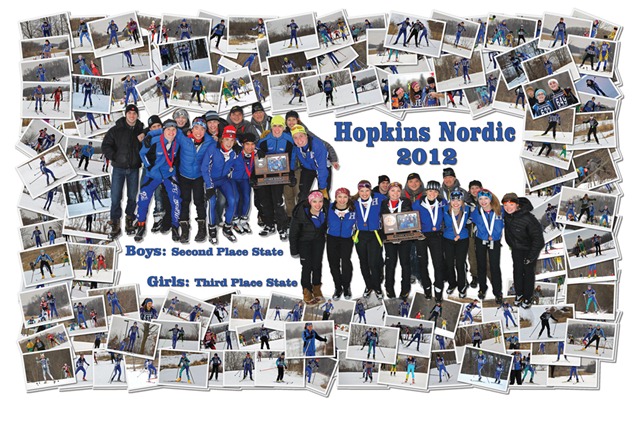
I’ve used it to create all sorts of fun things like this Nordic Team placemat and computer wallpaper (backgrounds).

Placemat_10x16

Shape Collage 2 (1920 x 1080)

Photography Tips

I offer here a few tips (in no particular order) for taking better photographs…

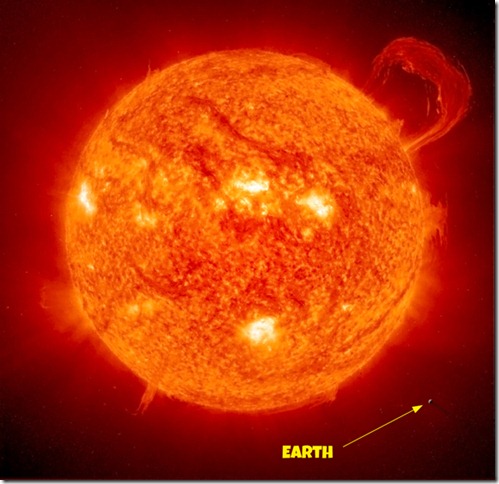
The Sun is not your friend!

earth_and_sun(small Notes)

img_0544(3)

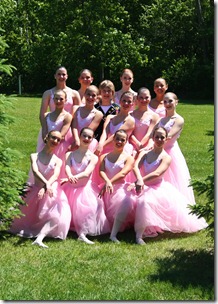
Photos taken in bright sunlight rarely turn out well. Posing these dancers in the shade would have eliminated the annoying harsh shadows falling across their faces. Fill Flash on this camera was no match for the Big Bad Sun!

Turn off your flash!

Turn Off Flash

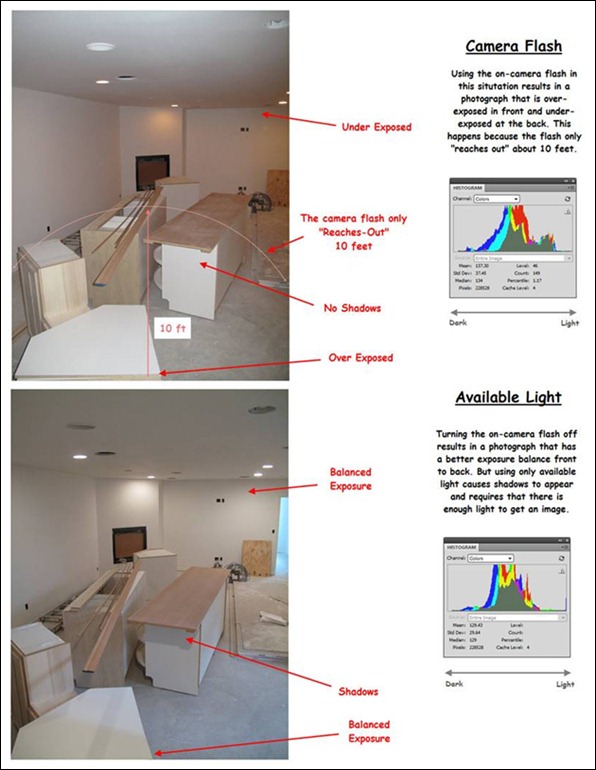
This pair of photos taken in the basement family room of The “L” Shaped House nicely illustrate the limits of a small on camera flash. It is especially important to realize that these kinds of flash units only “reach out” about 10’ in front of the photographer.

Stand in front of more Interesting Stuff!

img_5478(3)

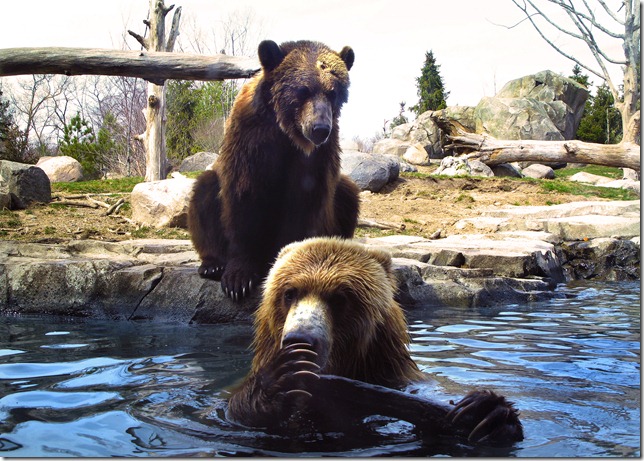
National Geographic photographer Jim Richardson supposedly said “If you want to be a better photographer, stand in front of more interesting stuff.” My friend Dan Pratt took this photo of the Brown Bears at the Minnesota Zoo using a small point and shoot camera. I’m pretty sure that although these two bears have been photographed thousands of times (with far better cameras) you will agree this is a particularly nice picture of them. Dan’s secret…he waited until they were doing “something interesting”.

Tuesday, March 20, 2012

Rule of Thirds

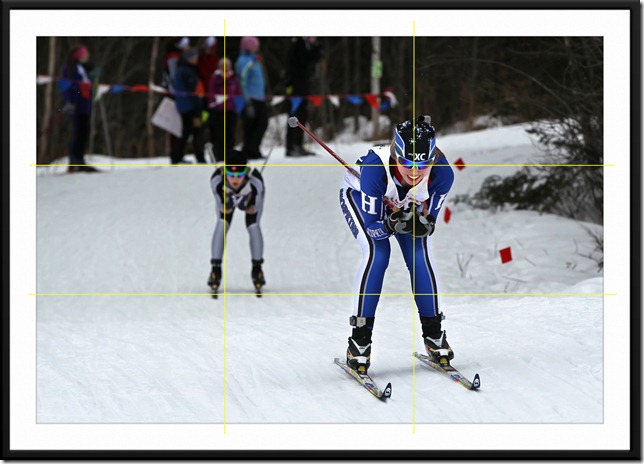
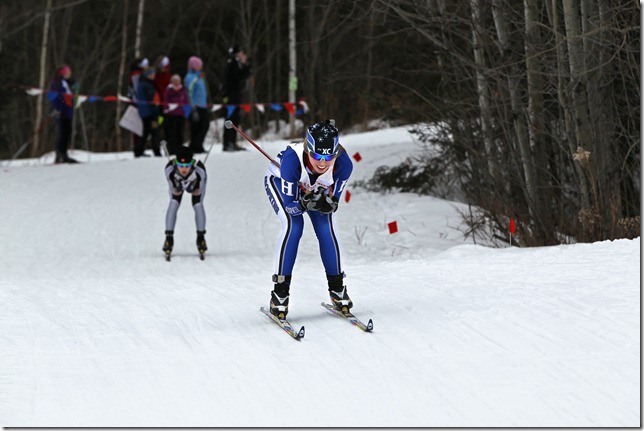
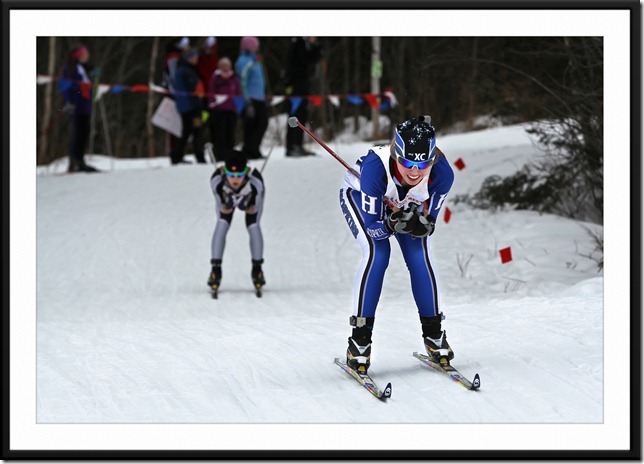
This photo of Sarah skiing in the Minnesota State Nordic Ski meet is a great example of everything coming together in an photo captured in the heat of battle. The position of the skiers in the frame allowed me achieve near perfection in satisfying the “Rule of Thirds” while composing the image. That positioning one of the cross hairs right between her eyes also results in a nearly perfect division of the scene into both vertical and horizontal “Thirds” helps make this image especially pleasing.

I wish I could tell you that I planned for this as I stood out in the cold waiting for the skiers to speed past. The problem with that story is that I would have to explain why not all that many of the other 1100 photos taken at the state meet are this easily divisible by 3.

Rule of Thirds

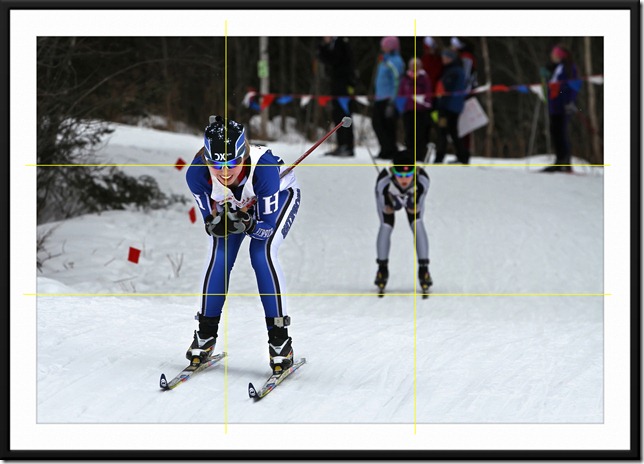
I like to look at a reversed image after cropping and composing. I think that when both images are pleasing it is likely that you have the composition “right” (i.e. reversing tends to magnify inconsistencies).

Rule of Thirds (reversed)

Photographing Nordic Skiing

Here is a brief summary of how I capture and process Nordic skiing photos.

  • Set the camera to “Automatic Program” (P).
  • Set the camera to continuous focus (AI servo in Canon) on the center point.
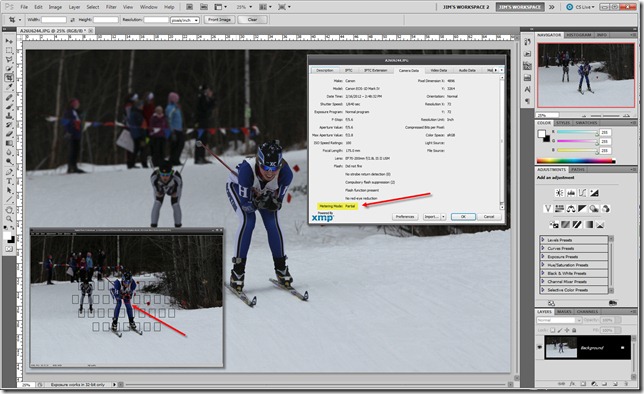
  • Set the metering mode to “Partial”.
  • Watching the luminance histogram on the camera back use the Exposure Compensation setting to “dial back” the bright snow (usually about –2/3).

Camera display2

These settings produced the image shown below. As you can see the skier is a little under exposed but all of the detail in the snow is retained.

Nordic (notes)

Selectively applying Shadow and Highlight adjustments as well as exposure compensation quickly transforms the original image into this…

Sarah Benton Wallpaper (master)

Cropping and applying a mat and frame in Photoshop gives us a really nice preview of how this will look hanging on the wall in Dad’s office Smile

Sarah Benton Framed (19 x 13)

Oh…One last thing…Stand in a spot where something interesting is about to happen!

Photographing Artwork

I’ve developed a method for photographing artwork that is relative easy and produces really nice results.

Links to a couple of photo galleries containing images created using this method

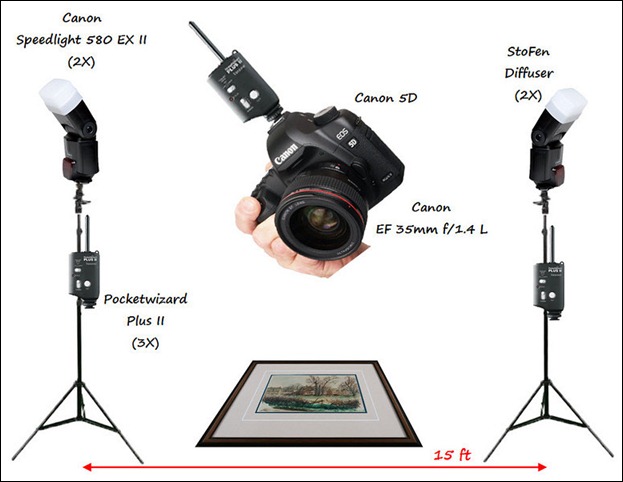
First I shoot the artwork laying on the floor in a dark room using a couple of widely spaced flashes (a pair of lamps could work as well). I worry more about having the image "squared up" than having the frame filled (you'll have plenty of pixels to work with). Be especially careful about getting reflections..a high ceiling works best.
1255578381_nnMx3P5-L

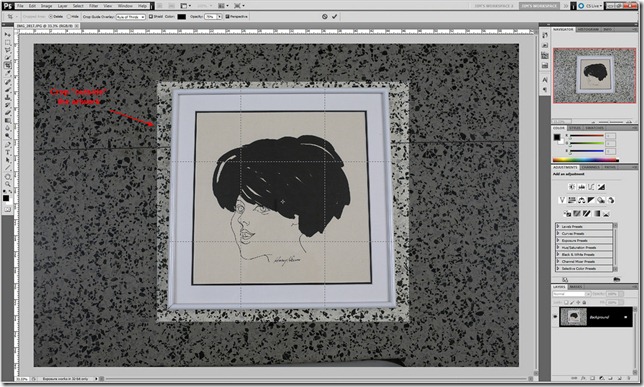
Open the image in an in an image editing program (this example uses Photoshop CS5) where you can easily manipulate it into "shape". The first step is to crop around the outside of the artwork...
1255577207_ZSRQFVb-XL

1255577323_x9tGfj7-XL

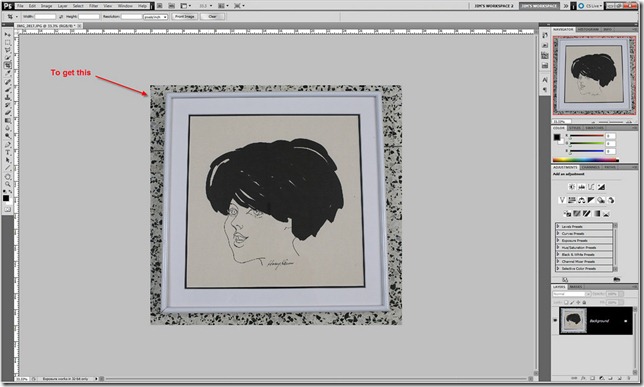
Then "warp" the image by grabbing the corners (one at a time) with the move tool while holding the control key (windows) and "bend" it into a nice "square" image (Dragging guides into the image can help...a lot).
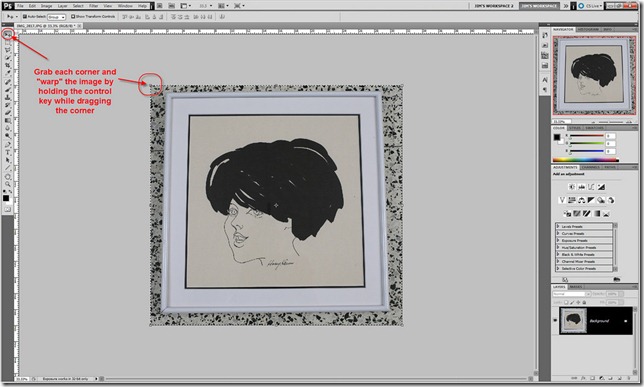
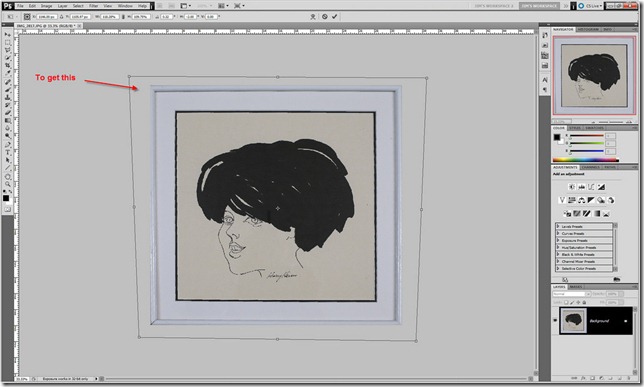
1255577190_24ns2cV-XL

1255577519_79d5P8T-XL

Finally adjust the image to "taste" and you're done.
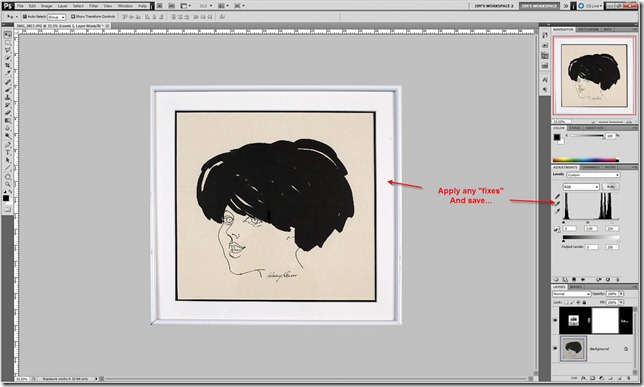
1255577508_rbBrfd7-XL

A few points to consider...

  • The closer you have the artwork perfectly fill and fit the captured image the better...but I have found you can "warp" an image quite a bit and no one will notice much.
  • The better you nail the exposure in the capture the less post processing you need...but once again I think it is easier and faster to get close in the capture and then "nail" the exposure and color in a "quiet" moment in front of your computer later.
  • Using the lens adjusting filter to correct for distortion before cropping makes this method work even better.
  • This example is created using Adobe Photoshop CS5...I'm sure other programs will work just as well (Photoshop Elements, Paint Shop Pro, Gimp, etc.)

Monday, March 19, 2012

Bonus Room Photo Studio

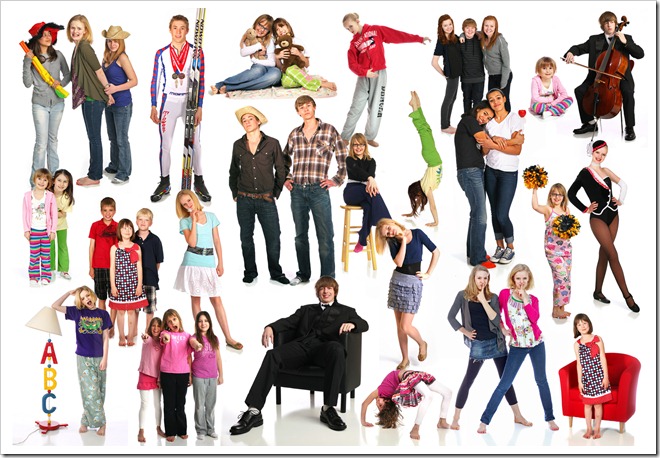
So how do I get all these nice photos of the kids and their friends?

White Seamless Fun

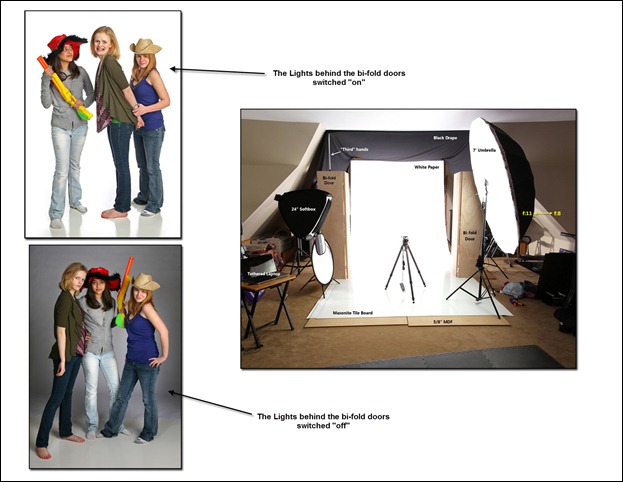
I built a photo studio at the “L” Shaped House. Following a set of plans for a white seamless background laid out in (amazing) detail by Zack Arias on his blog (see it here) I created an amazingly versatile photo backdrop in the bonus room above the garage at the “L” Shaped House. Zack’s plans are meant for the do-it-yourself photographer and is surprisingly cheap to build.

Backdrop Lights 2

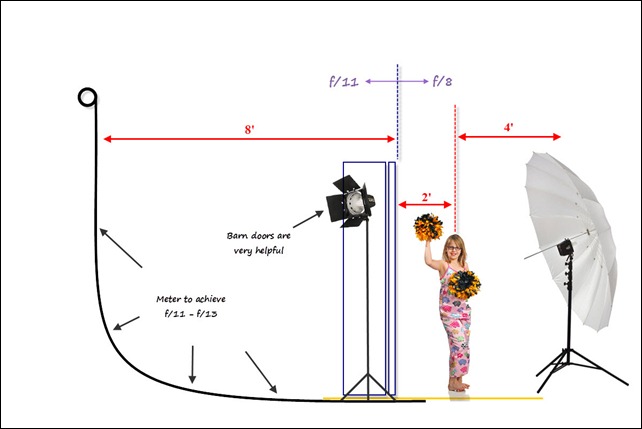
The basic layout and dimensions for the studio backdrop are seen in the sketch below.

White Seamless setup(2)

My Favorite Pokėmon Character

While lulling its enemies with its vacant look, this wily Pokėmon will use psychokinetic powers. What’s not to like about that…

PsyDuck

Sunday, March 18, 2012

Look Beyond What You Can See…

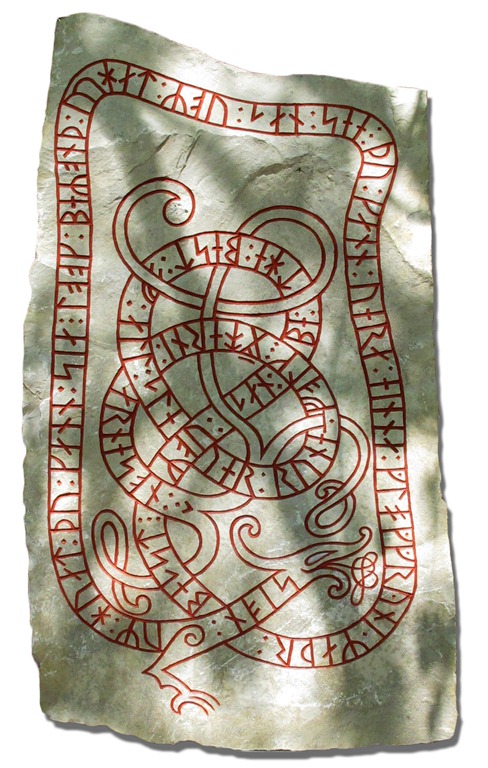
The Rune Stone at the bottom of the hill in the front yard at the “L” Shaped House. Solve the riddle…Win a prize!

Rune Stone 2

Saturday, March 17, 2012

Section Championships (Part 2)

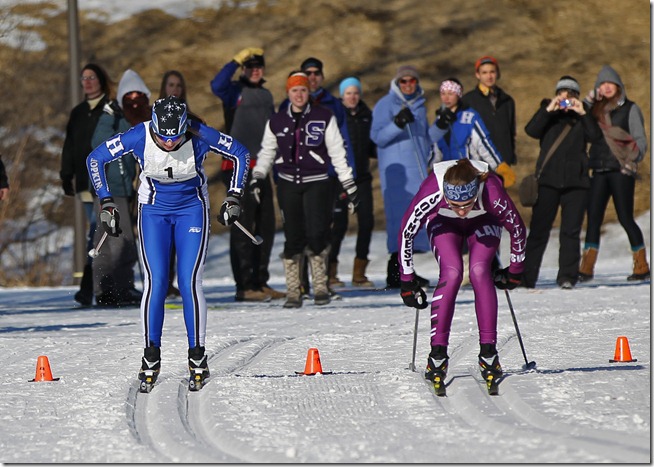
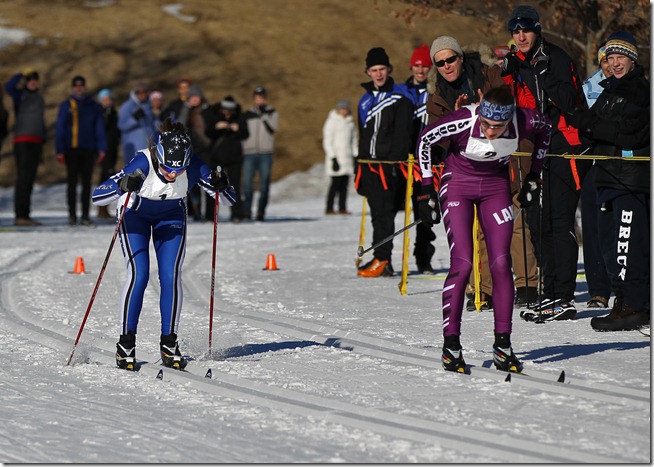
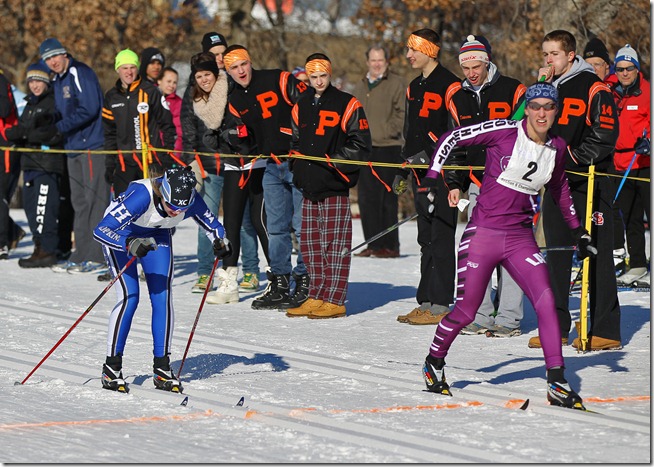
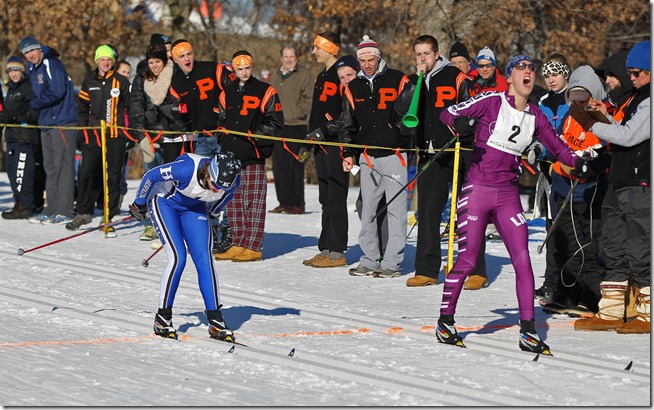
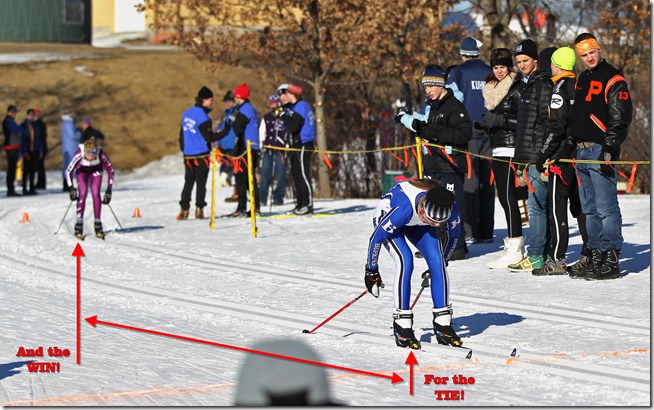
I captured this series of images at the girls Section 6 Nordic Skiing Championships in Maple Grove MN. The series starts with Sarah Benton of Hopkins and Claire Glavin rounding the last corner less than 100 feet from the finish. Claire sneaks a last peak over at Sarah just before she crosses the finish line and wins the Section 6 girls individual title by less than a tenth of a second.

A26U5130(5)

A26U5141(5)

A26U5147(5)

A26U5148(5)

Section 6 Championships

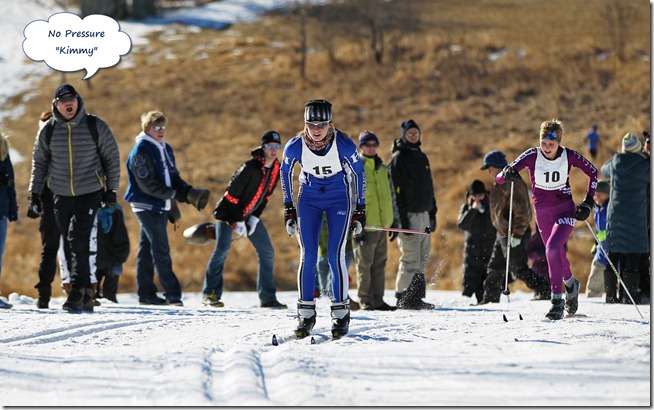
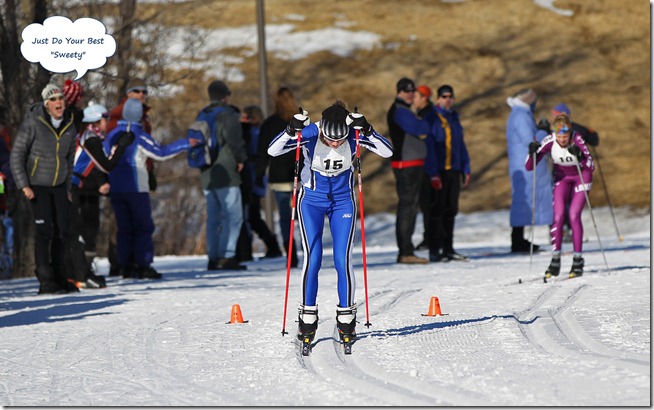
I captured this series of images while photographing the Minnesota High School League Section 6 Nordic Ski Championship races at Elm Creek Park Reserve in Maple Grove. The Hopkins and Southwest (Minneapolis) girls tied in points and the team championship was decided by the elapse time of the top four competitors. Hopkins came out on top by a margin of only 3 seconds. The three images here capture the action over the final 1.5 Kilometers as Kim Lidstone of Hopkins leads Emily Gotzsche of Southwest toward the finish. Capturing Hopkins coaches Kevin Kos and Megan Wilder screaming their heads off in the background provided the opportunity to have a whole lot of fun with the images long after the race was over!

KL Race 1

KL Race 2

KL Race 3